Wednesday, October 29, 2014

It's THYME to paint an Olde World Santa

Today 
I am going to show you step by step
how I painted this 
ZIM'S 
Olde World Santa
Pattern Design 
by
Kristen Birkland, CDA


In case you are not familiar with 
ZIM'S
I will give a brief background history

Zim's was founded by Cliff & Eleanor Zimmerman over 50 years ago. Zim's was very well known as a major pioneer in the Arts and Crafts Industry and built a reputation in that industry as a most innovative and reliable company.
It was 1995 when Zim's began to produce a charming line of unique nutcrackers and smokers for the Gift Industry and this marked their official entry into this market. For many years prior to this time, Zim's supplied products, raw materials, various components and manufacturing services for many producers of quality gift lines. With four years of successful production and marketing of the Heirloom Collectibles Line, Zim's began to plan the next quality line that they would produce. The Elves Themselves were introduced in January 2000 and became an overnight sensation. With these incredible successful lines of finished products abd 50+ years in the Arts & Crafts Industry, many people became familiar with Zim's name and consistent dedication to quality, creativity and service.

Zim's 
unfortunately went out of business several years ago.
Their unpainted surfaces are hard to find now, if you are lucky enough to find one they are often pricey.
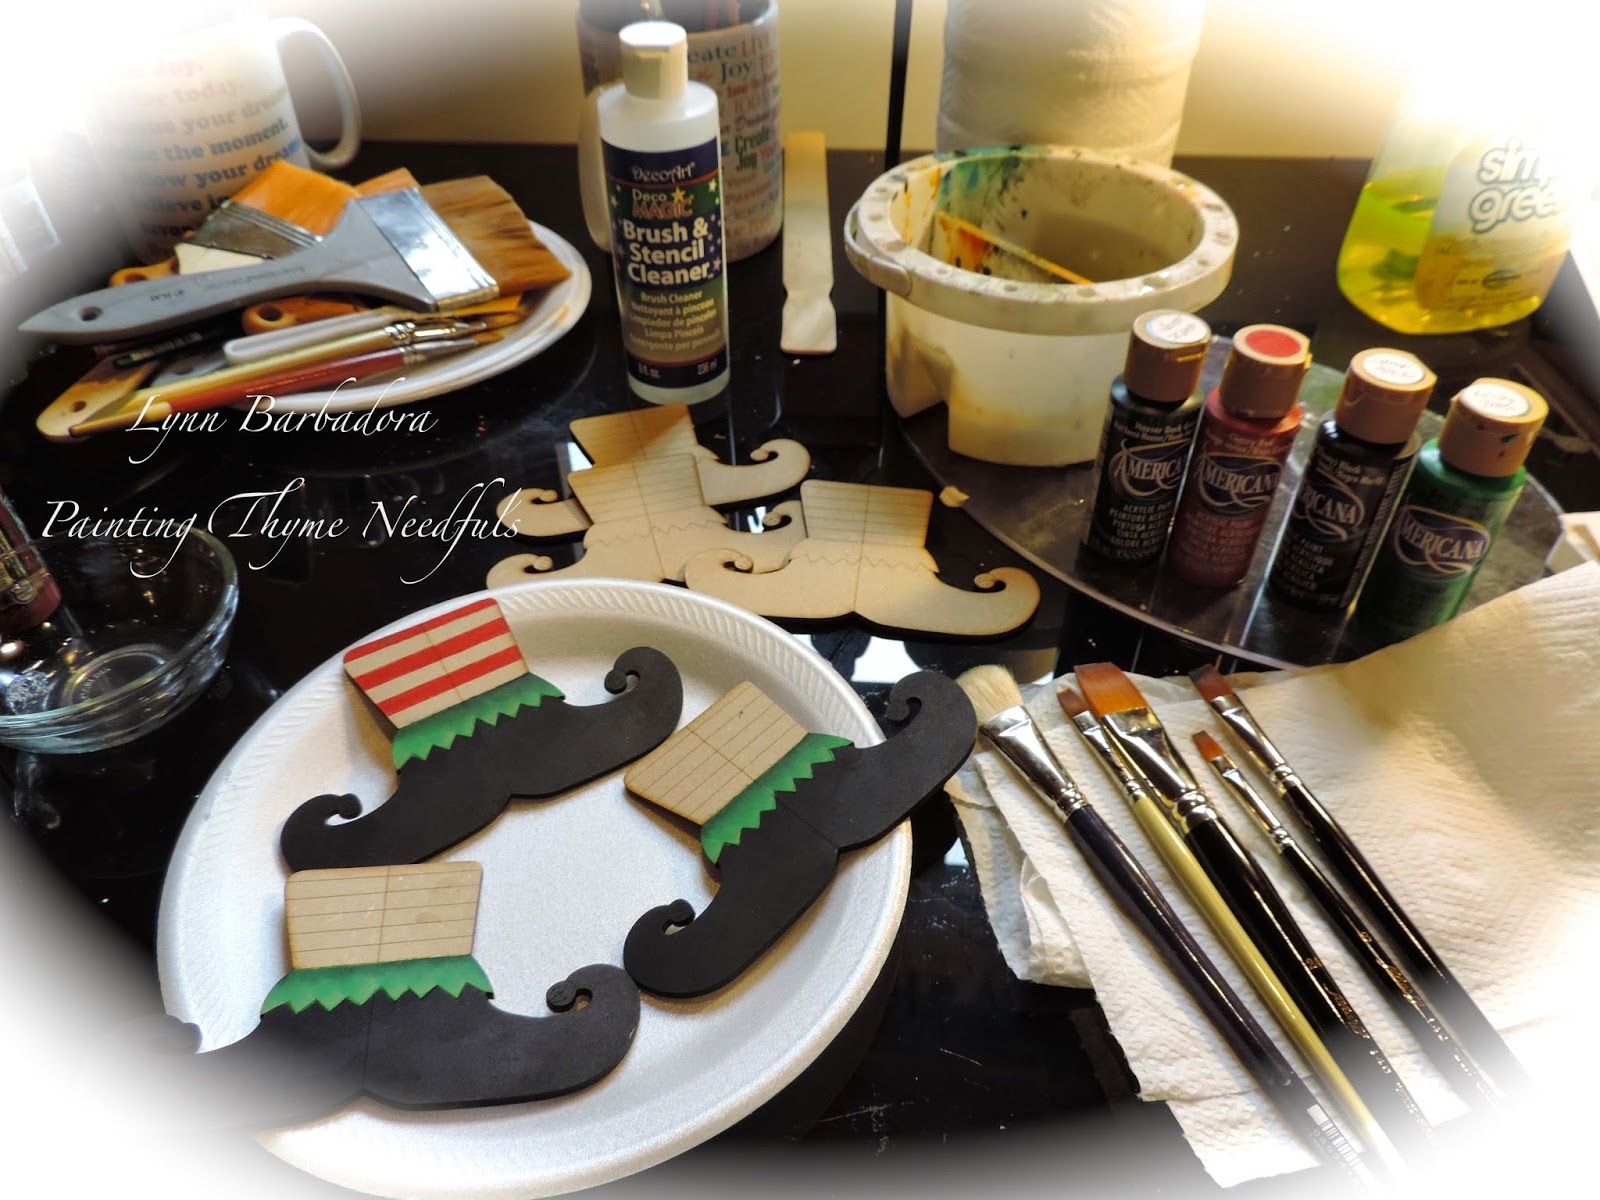


Lets paint!


My Palette
Light Buttermilk, Shading Flesh, Fleshtone,Gingerbread,Tuscan Red, Royal Fushia, Persimmon, Light Cinnamon, Russet, Forest Green, Hauser Medium Green, Citron Green Lamp Black, Uniform Blue, French Grey Blue, Burnt Umber, Snow White
Dazzling Metalics Splendid Gold, Glamour Dust Ice Crystal


I started by first
basecoating 
the 
coat, hat and pants
 with 
Tuscan Red


Transfer design using graphite paper


Painting detail along the bottom of the coat


The trees, and scroll work were painted with
Forest Green, Medium Hauser Green and highlighted with Citron Green


Further detail work was added using
Persimmon
and 
Dazzling Metalics Splendid Gold


I then basecoated the fur trim on the hat, sleeves and coat 
with 
Light Buttermilk


I added the various size dots on the back of the coat using
 the ends of 
different size brushes


and 
my stylus


The various size dots were painted using
Dazzling Metallics
Splendid Gold


I then painted the mittens and the Christmas tree.


After I painted the tree it was dry brushed with
Dazzling Metallics
Splendid Gold


I then went back to working on the fur.
I used a stippler brush
 and 
Snow White
to go over the areas of the fur that I had previously painted


I immediately used my blow dryer on it 
which added texture to the paint.
I then painted the fur using
Deco Art Glamour Dust
Ice Crystal
to add some
sPaRkLe


Painting the shoes 


and 
adding details to the base


Adding details to the hat


Painting the BLUE bird!


Almost done!
 I sprayed my Santa with 2 coats of
AMERICANA 
MATTE Sealer/ Finisher


THYME to give Santa a beard!


Are you ready to see him?


Olde World Santa


This was a fun piece to paint!

Deco Art provided me with the paints to complete this project as part of their
Helping Artist Program
and
Blogger Out Reach Program


Happy Painting!
Lynn


Friday, October 17, 2014

It's THYME to talk about BIG BRUSHES!

Last week I blogged about how I had walked into my 
STUDIO
to find my 
LIL Elf HiNkLeY
hanging from the 
LARGE RULER
that I have in there


If you missed that post you can read about it
I had been talking to him about
how I was going to be attending
NET
New England Traditions


NET is a trade show for Decorative Painters
Click on the link HERE to visit their website.

HiNkLeY
asked 
"what do you do there?"

I've been decorating my new STUDIO 
and 
found some old paint brushes, and wooden boxes


I told HiNkLeY that you could take classes there, 
meet other decorative painters, shop till you drop 
and 
best of all 
you could meet 
BIG BRUSHES!
He looked at me with a confused look on his face and asked
"How do you meet a paintbrush?"
I just smiled and explained to him that 
BIG BRUSHES
was a term given to the well known Artist/Designers in the industry.
I told him I not only planned to BUY some new brushes there
 but
 I hoped to chat with some 
BIG BRUSHES


I not only bought new brushes 
but 
I also bought some wonderful patterns and surfaces.
I met some old and new painting friends .
I especially enjoyed chatting with 
Cynthia Erekson and Kim Hogue
who are
BIG BRUSHES!
Well imagine my surprise when I came home
 and 
opened the door to my STUDIO to this!


Now where in the world did HiNkLeY ever get that BIG BRUSH?

It looks like the MAGIC is beginning to happen here.

Which reminds me I need to get back to my painting table!


Happy Painting!
Lynn


Wednesday, October 15, 2014

It's THYME to make some Candy Corn Ornies!

Eeeeek My Pretties!
HALLOWEEN
is
almost here!


Lets make some 
CANDY CORN ORNIES
using a
ORNAMENTAL GINGERBREAD DOUGH 

Here is my recipe!
3T Shortening
1/2 Cup  Sugar
1/2 Cup Molasses
1 Tsp Baking Soda
3/4 Cup Water
3 1/2 Cups Flour
1 Tsp each: ground cloves, cinnamon, and nutmeg

Beat shortening and sugar together until light and fluffy. Stir in molasses. Mix dry ingredients together. Stir them into sugar mixture and gradually add water. Dough will be very stiff! 
Refrigerate overnight.
Heat oven to 350. Cut dough into 3 pieces. Roll one piece at a time (between 2 pieces of wax paper) to a thickness of about 1/4" Cut out desired shapes and patterns. Bake for about 20 minutes. Allow to cool and harden for several hours or overnight.
Finished ornaments can be painted, sealed or dipped in melted wax. The possibilities are endless!


You can find cookie cutters like this in craft stores , tag sales etc.
I have a large jar of them for crafting!


I use an electric stand mixer to make these as it is 
a
VERY STIFF, HEAVY DOUGH

You will also need to refrigerate the dough overnight


Roll your dough thin as they will puff up some when baking!


I used
to paint my 
candy corn ornies

The colors that I used were


You can find out more 
about 
CHALKY FINISH PAINTS 


These were fun to make and paint!


After I finished painting them I varnished them 


When dry I drilled small holes in them and threaded twine thru them


Years ago I found this old tin in an antique store

My husband made a 
"wood tree" 
to go inside.
He cut a hole in the cover of the tin, and I filled the tin with plaster of paris
 and 
let it set
so the "tree" would stand upright in the tin


I enjoy making seasonal ornies to hang on this tree in my dining room


You can find more of my seasonal "trees" and ornies 
Or click on the links
 for 
ornamental gingerbread dough
 or 
salt dough ornaments 
in my side bar


I hope you have enjoyed this tutorial!

Here is my completed tree in my dining room!

DecoArt Americana DECOR paints are so easy to work with!
The end result is always amazing!
DecoArt provided me with the paints to complete this project as part of their
Helping Artist Program

Americana Decor Chalky Finish paint is available 
at 
Home Depot, Hobby Lobby, Michaels, A C Moore
or
possible other stores depending on where you live!

Visit the Deco Art Chalky Finish website
For more design ideas and inspiration!

Happy Painting !
Lynn


Related Posts Plugin for WordPress, Blogger...