
I have always loved doing trash to treasure projects.
I have had a sign board in my stash for quite sometime now waiting for the perfect project.
Today you can SEAS the Day
and
watch me create a fun mixed media signboard using a variety of materials and techniques
-Decoupage, faux crackle finish and decorative painting!

SEAS the Day
is a design
by
Laure Paillex
Palette
DecoArt Americana Acrylics

Snow White, Gray Sky, Persimmon, Turquoise Blue, True Blue or Clear Blue, Mustard Seed, zczocoa, Burnt Sienna, Soft Black, Acrylic Medium Extender

Let's Paint!

The base coat for this piece is Turquoise Blue.
I did 2 coats of Turquoise Blue.

When the final coat of Turquoise Blue was dry I brushed irregular patches of Persimmon on the sign board using a chip brush.
Using this scruffy brush I applied a liberal amount of paint in patches over the sign board,
thus creating a rich contrast between the 2 complimentary colors.
I let the paint dry completely.

Next I applied a coat of
Weathered Wood Crackle Medium
Let this dry completely.

When dry I applied a heavy topcoat of Gray Sky.
As you the surface began to crackle you could see the original base coats of Blue Turquoise and Persimmon showing.

Next I prepared my map for the surface.
IMPORTANT NOTE.
If you print from a high quality laser printer the print is color fast and safe to use "as is."
However if you are printing the map from a home printer test the ink for color-fastness!
Jet inks must be sealed with several coats of Acrylic Matte Spray to prevent bleeding. Laser ( dry toner) prints are color fast and can be used "as is."

I recommend Krylon Workable Fixatif to prevent bleeding of prints .

You can use scissors to trim your map to fit your surface
or you can tear away the edge for a more rustic appearance.
I first dampened the edge of the paper using my brush and a little water.
You can then easily tear away the edge using a ruler.

I used a wide
Americana Decor Brush

to quickly apply
Decou-Page Matte Medium
first to the surface ( signboard)
and
then to the back of the map.
I carefully laid my map print down onto the board (wet sides together)
and
adjusted as necessary.
*** Handle carefully so as not to tear the print.***
I began by smoothing out the air bubbles from the center outward towards the edges using my hand.
Continue to smooth out using a plastic scraper or even a credit card.

As I final step I used my rubber brayer to fully seal the paper to the surface.
I let the piece dry completely over night!
I then mixed some DecoArt Matte Medium with a small amount of Snow White.
I used just enough to make a "milky haze"and brushed it over the map.
This softens the background, seals and protects the print.
I then allowed this to dry completely before proceeding to the next step.

I resized the line drawings to fit my surface.
I transferred the design to my surface.

Developing the Lettering
The letters are base coated with Turquoise Blue thinned with water to a semi-opaque wash.
The letters are then float shaded with a mixture of Blue Turquoise + True Blue. ( 1:1)
I highlighted the center using a mixture of Snow White + a touch of Blue Turquoise.
A final highlight of straight Snow White is streaked in the center of each letter.
I then outlined each letter along the left and bottom edges using a liner brush
and
True Blue + Soft Black. (1:1)


I use Silver Micron Mini lettering brushes which come in a variety of sizes.
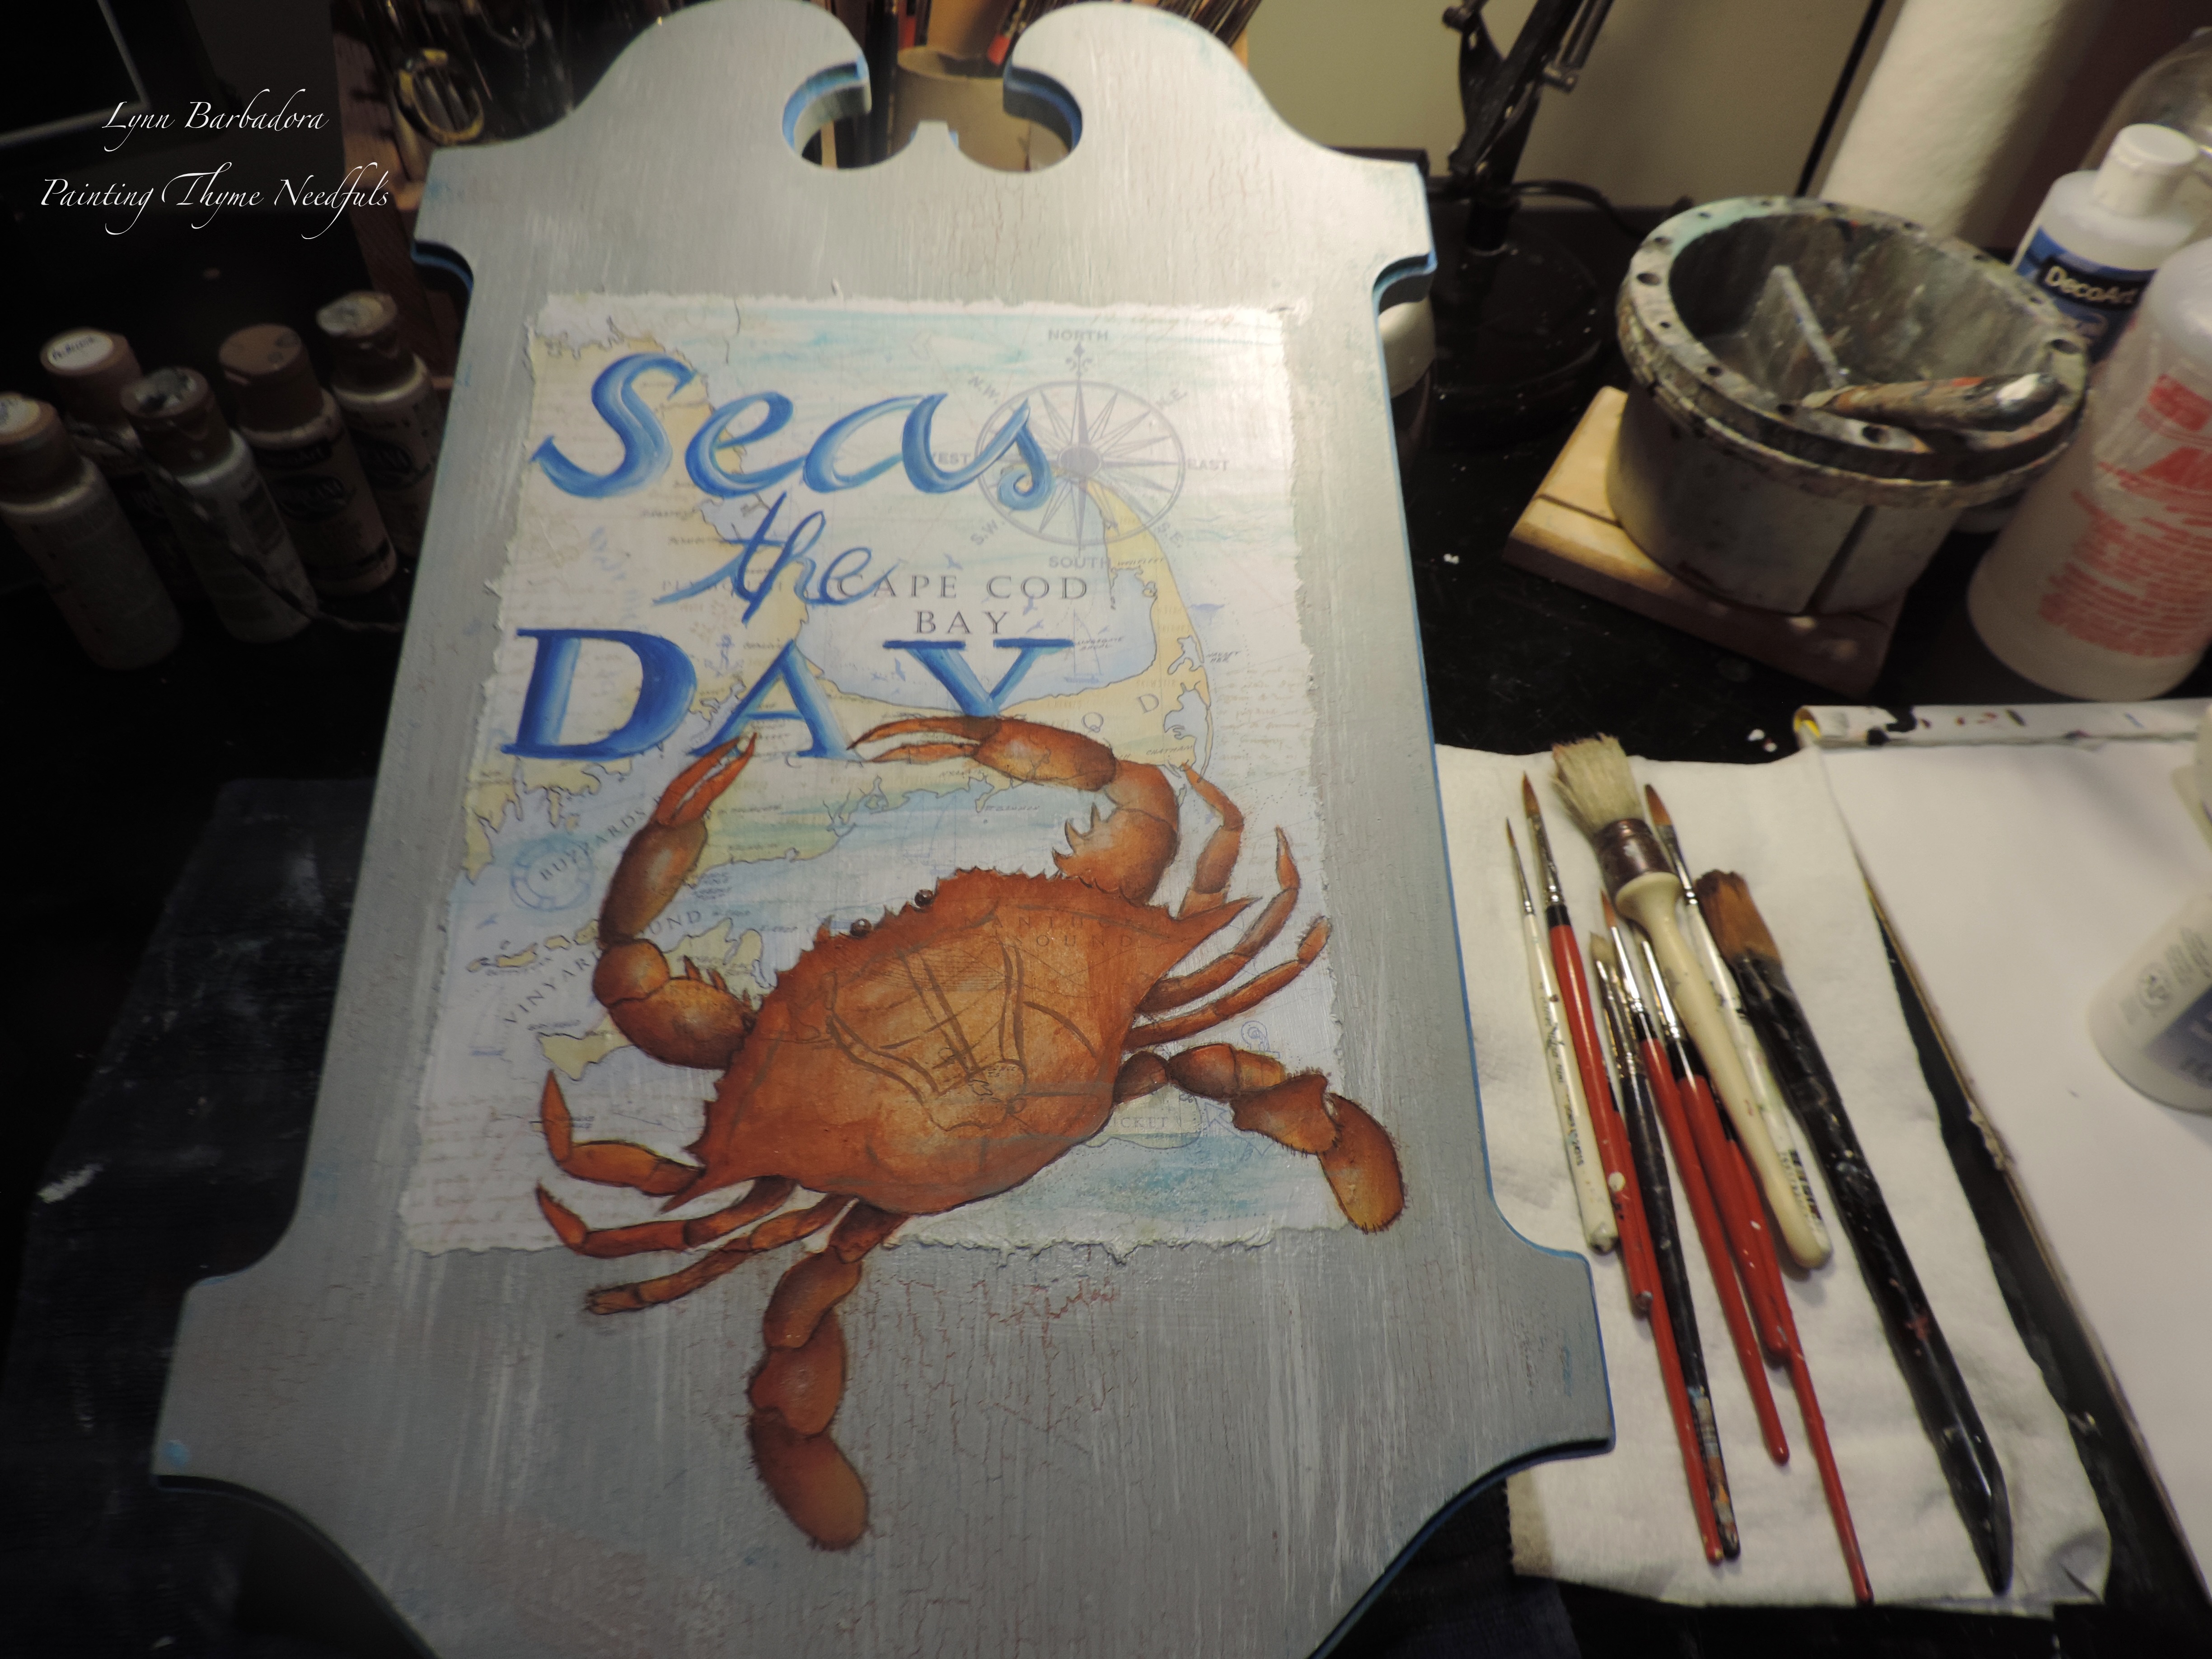
Next I painted the crab.
I painted MANY thin washes of color to achieve my end result!
Be Patient!

Notice that the crab appears to be grasping the letter
A in Day.


My completed project.
Thank you DecoArt for providing the paints to compete this project!

"Cape Cod crabs roam o'er the sands; their beds are made of seaweed strands"
Always paint with a Happy Heart!
Lynn


.jpeg)


