Sunday, January 25, 2015

It's THYME for some WINTER TIME MAGIC

Living 
in 
New England 
I have to say that we have been very 
LUCKY 
so far this winter 
because we have not seen much of the 
WHITE stuff 
yet!
Listening to the weather forecast
 for
the next few days there is a possibility 
that 
could change!
We could be in for some
WINTER TIME MAGIC!

Even 
IF 
the weathermen 
are wrong 
I have decided to paint some winter MAGIC!


I love to paint on ice skates!
They can usually be found at yard sales thrift shops or even in your own basement!
I use grey metal primer to prep skates 
after cleaning them well
 and 
taping off the heel and runner.

I used a design from 
Viki Sherman's 
Kindred Hearts Book
called
WINTER TIME MAGIC


My Pallette
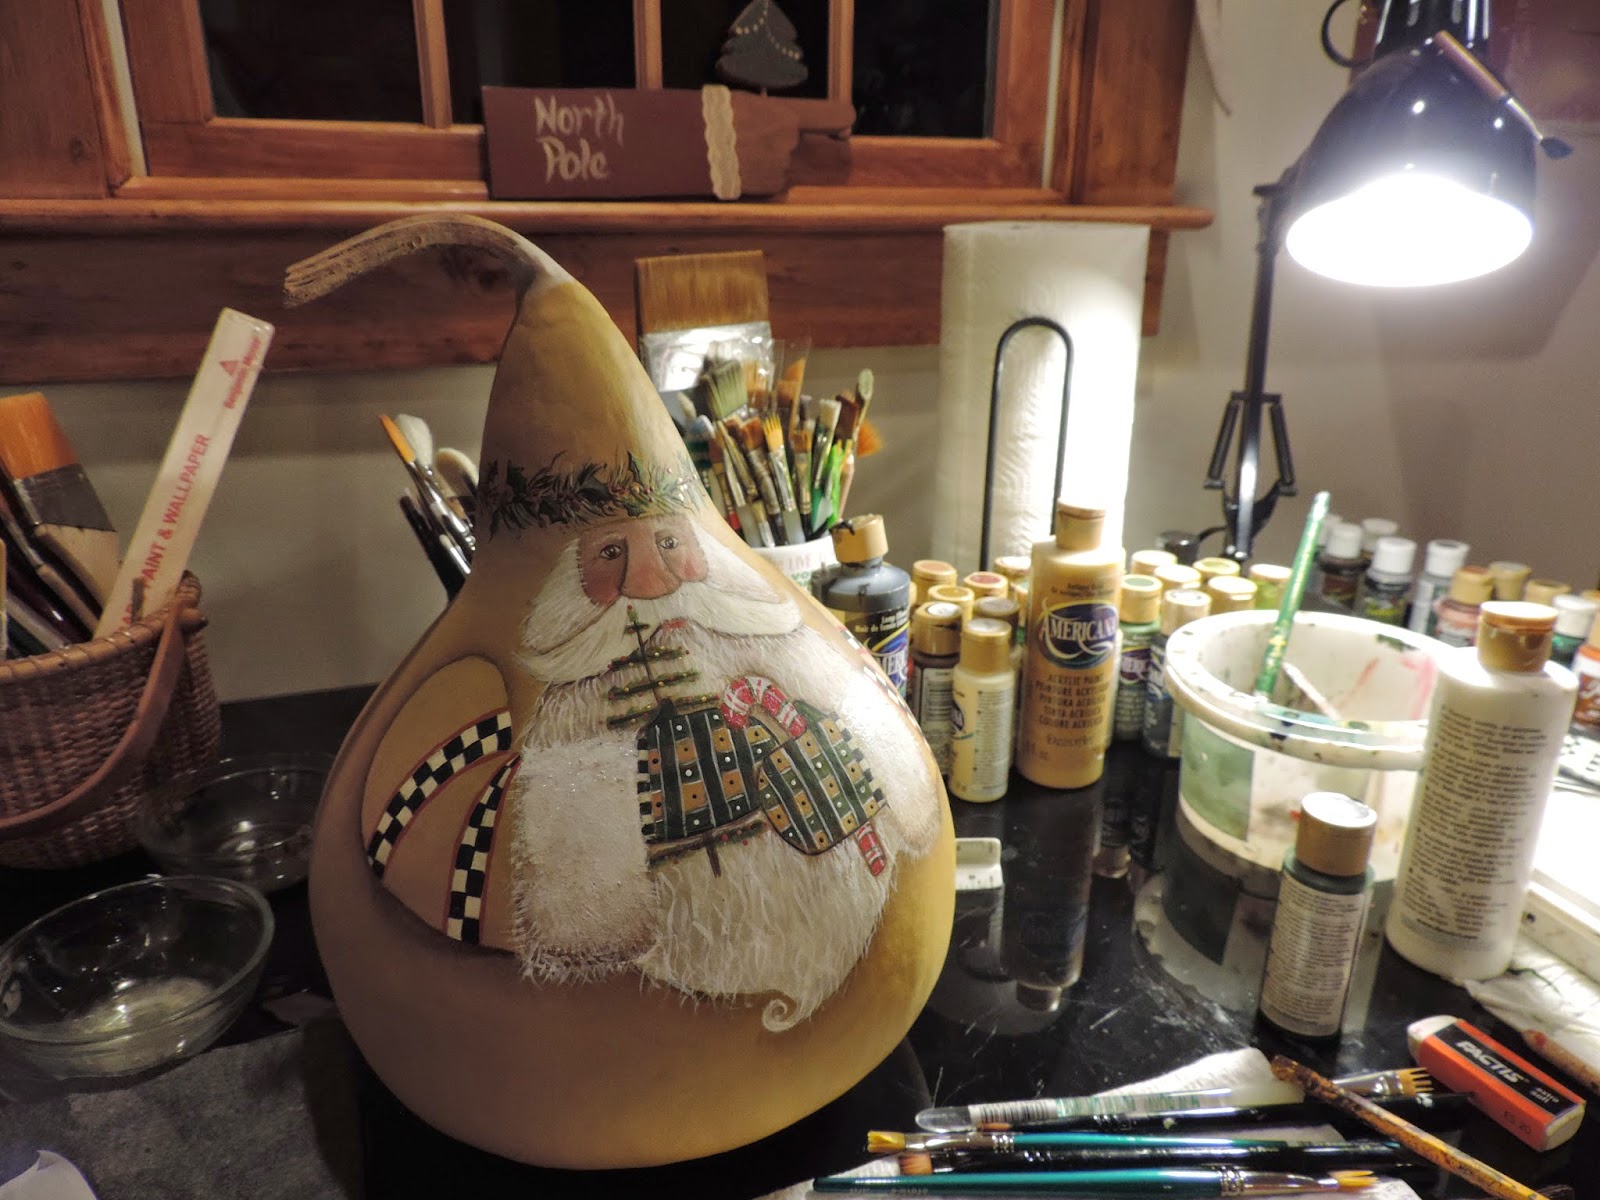
Burnt Umber, Soft Black, Mississippi Mud, Titanium White, Paynes Grey, Black Green, Evergreen, Antique White, Burnt Orange, Light French Blue, Black Plum, Avacado, Lamp Black, Light Buttermilk, Heritage Brick, Deep Midnight Blue, Cherry Red


After the primer had dried well I basecoated my skates with 2 good coats 
of
Mississippi Mud


Ice Skates 
are 
a fun surface to paint on!
Just paint right over the existing stitching.


After painting my design I painted the eyelets Lamp Black for contrast. 
I added some
GLITTER SNOW
along the sole of the skate.

I varnished my skate with 2 coats of

When dry 
I lightly sprayed my skate with a spray glue for glitter
I then sprinkled my skate 
with
DIAMOND DUST 
to
 make it sparkle!
Add some 
DIAMOND DUST
 to the blade also 
so it will look like there is
 ICE 
on the blade.


I like to fill my skates with a mix of 
"winter thyme" greenery
I secure a piece of floral styrofoam inside the skate with hot glue
I make some "snowballs" using various size styrofoam balls.
Spray the styrofoam balls
 with 
spray glue for glitter
 then sprinkle them 
with 
DIAMOND DUST
I use wooden skewers to make my snowballs into picks to stick in my arrangement.
Use green floral tape to cover the wooden stick


I tore strips of homespun to use as laces 
and 
added a large bell


I attached a small tag that 
said
BELIEVE


Attach a piece of wire in the back for hanging


Or
if you prefer to use your skate as a table centerpiece
cut a block of wood, paint it , cut a groove down the center of the wood
 and 
insert the blade of your skate!


DecoArt provided me with the paints to complete this project as part of their
Helping Artist and Blogger Outreach Programs.
Thank you DecoArt for the opportunity to use your products!
You can visit my DecoArt Profile

I hope you have enjoyed watching me paint 

WINTER TIME MAGIC!

Happy Painting!
Lynn

"Each day is a new canvas to paint upon. Make sure your picture is full of life and happiness, and at the end of the day you don't look at it and wish you had painted something different." ~Author Unknown


Monday, December 22, 2014

Thyme for a ROLY POLY SANTA


Are you 
READY 
for
Santa?


I am still 
VERY BUSY 
in my 
STUDIO


I was gifted this large gourd by a friend
It came to me "paint ready" so I had no prepping or cleaning to do first!
I decided to paint a 
Lynne Andrews design 
on it called
ROLY POLY SANTA

My pallette for this project

Antique Gold, Buttermilk, Flesh Tone, Burnt Umber, Country Red, Hauser Medium Grenn, Plantation Pine, Titanium Snow White, Lamp Black

Speciality Paints
DecoArt Dazzling Metallics Emperor's Gold, DecoArt Glamour Dust, Americana Sealer Dura Clear Matte Varnish


I used graphite paper to transfer my design to the gourd surface.
Transferring your design to a round surface can be a little tricky.
You may have to make some adjustments as you go along.


We are now ready to paint!
I first basecoated 2 coats 
Antique Gold 
drying well between each coat.


I then began the 
face details, beard and wreath on Santa's hat.


I used 
to add to the holly wreath on Santa's hat


The pattern directions called for the mittens to be 
PLAID


  They were painted with a wash technique.


I then began painting the twig christmas tree and candy cane.


At this point I began to think that the mittens 
stood out a little more than I wanted them to
but I continued with the rest of the design.


I started working on the FUR on the cuffs of Santa's coat.


Lynne Andrew's often adds a checkerboard pattern to many of her designs
You can use a Koh-i-noor Radiograph pen size 00/.30 for this or a good quality permanent marker (medium point) or you can also use your liner brush and Lamp Black paint.


I painted the Lamp Black checkerboard design on my Santa with a tiny liner brush.


As I continued to paint the Santa I still was still not sure about the mittens as I felt the plaid competed 
with the candy cane and the black checkerboard design on sleeve.

  
I even changed the color of the plaid!


Working on the sleeves of the coat


Painting the fur on the bottom of Santa's coat.


I used
to add some sparkle to the fur 
on the
cuffs and bottom of coat.


I finally decided to paint the mittens a 
SOLID color 
and 
just add a snowflake to them
I painted the mittens using Antique Gold to match Santa's jacket.
I liked them a LOT better!

I sealed my Santa with several coats of 


I added some buttons to the botton of his coat

This was a fun design to paint. 
You can find Lynne Andrews wonderful patterns 

DecoArt provided me with the paints to complete this project as part of thier
Helping Artist Program
and
Blogger Outreach Program
Thank you DecoArt for giving me the opportunity to try your wonderful products in my paintings!

You can read my 
DecoArt Blogger Profile 


I hope you have enjoyed watching me paint

ROLY POLY SANTA!


Keep those brushes flying!
Happy Painting!
Lynn


"Each day is a new canvas to paint upon.
Make sure your picture is full of life and happiness,
and
at the end of the day you don't look at it
and
wish you had painted something different."
 ~Author Unknown


Tuesday, December 9, 2014

It is THYME to show you Santa's MAGIC key

Have you ever wondered what would happen
if
SANTA
could not fit down the chimney
or 
worse what if you didn't have a chimney 
for 
SANTA 
 to slide down?

Well....
You would of course have to leave a
 KEY
for 
SANTA
to get in!


Let's head into the STUDIO and paint one!


My pallette for this project


Antique White, Dark Chocolate, Fleshtone, Dark Flesh, Red Iron Oxide,  Avacado, Lamp Black, Slate Grey, Snow White, Napa Red, Burnt Orange, Light Avacado, Antique Gold, Honey Brown, Light Cinnamon

Additional Supplies
Americana Multi Purpose Sealer, DecoArt Glamour Dust Ice Crystal, 
Americana Dura Clear Matte Varnish


I used a 
Pam Grady
design to complete this project

The surface and pattern can be found
at

I first sanded, then sealed my surface with Americana Multi Purpose Sealer
I then base coated with Lamp Black


I then used 
WHITE graphite paper 
to
 transfer the line drawing to my surface


These are good size wood surfaces measuring about 8 1/2" long

There is a lot of detail in this ornament!
Rather than just "scumbling" the FUR on the coat 
I painted it to LOOK like fur


Adding the vine , berries and other details


I used 
to 
add some sparkle to the fur


I used a WHITE chalk pencil
to
write
SANTA'S MAGIC KEY
on the back
I used a small wood snowflake to "dot" the I in the word
MAGIC
I varnished my piece
with
Americana Dura Clear Matte Varnish


I attached a rusty key
and
tied it with homespun


DecoArt provided me with the paints to complete this project as part of their
Helping Artist
and
Blogger Outreach Programs
Thank you DecoArt for the opportunity to work with your products!

You can view my
Deco Art Blogger Profile

HERE

I hope you have enjoyed watching me paint

SANTA'S MAGIC KEY


Happy Painting!
Lynn


"Each day is a new canvas to paint upon.
Make sure your picture is full of life and happiness,
and
at the end of the day you don't look at it
and
wish you had painted something different."
 ~Author Unknown


Sunday, December 7, 2014

Paint with the angels this Christmas Terrye French

In 
May 
Terrye French's 
family
 announced 
that she had suffered 
massive stroke.
It sent a wave of shock through the painting community.
 Terrye 
was 
well known for her primitive, whimsical style.

Prayers were said all around the world for Terrye's recovery 
but 
sadly that was not meant to be
Terrye 
went home to
 HEAVEN 
on 
Thanksgiving Day

11/27/ 2014


Terrye was one of my earliest painting inspirations. 
I have 100's of her patterns 
and 
all the books she ever wrote. 

Several years ago Terrye 
started 

PAINTING WITH FRIENDS

Terrye was one of the most talented, creative, and giving persons that I have ever known
Her dream was to give other painters a chance to get their names out there by getting a chance to "paint with her." 
Terrye would send out line drawings to be painted and made into e-patterns.
 She encouraged you to add your own style to the designs.  
I was beyond honored when Terrye contacted me to be a part of 
from 
the very beginning.

To date I have about 18 PWF patterns published 
with 
several more to complete.

I never got the chance to meet Terrye
but I considered her a dear friend
 I will miss my chats with Terrye via e-mail 
and 
her face book page.


I am blessed to have 2 wonderful pieces in my home that were painted by Terrye.
They are even more treasured now.


This piece is called Strawberry Moon.
It was painted on an old pull toy


This is a wonderful piece that 
Terrye 
painted on an old mail box


Close up detail 


The painting community wanted to do something to keep Terrye's memory alive
she touched so many people with her magic brushes.


Terrye had a beautiful primitive tree that she loved to decorate.
Her family has suggested that it would be a wonderful tribute to Terrye to help decorate the tree for her grandaughters with hand painted ornaments.


Below is a note from Terrye's daughter


Note from Terrye's daughter Kera:
Thank you all so much for the love, prayers and messages you have taken the time to send. It is beautiful beyond words to know all of the lives Mom touched trough painting and her kind heart. Many have asked what they could do during this time. Mom had a primitive country Christmas tree, that she loved. We would be honored if you would help decorate it. If you would like to send an ornament for the tree that would be lovely. Please sign, date and put where you are from on the ornament. We plan to put up the tree every year on Thanksgiving Day. We will be able to share the giving, inspirational, helpful and loving way she touched each one of you with her grand daughters as they get older. This is a beautiful tribute to a beautiful lady. Thank you so much for your love. You are a comfort to our hearts and for you all, we are thankful.

Ornaments can be mailed to:

Terrye French Memorial Tree 
C/O Kristin, Kera, & Klayton
1247 Wandering Oaks Ct.  Norman, OK 73026


I have completed my ornament


Santa's MAGIC Key

design by Pam Grady


Paint with the ANGELS now 

SWEET Terrye

I shall miss you dearly.

Lynn


"Each day is a new canvas to paint upon.
Make sure your picture is full of life and happiness,
and
at the end of the day you don't look at it
and
wish you had painted something different."
 ~Author Unknown

Related Posts Plugin for WordPress, Blogger...