Showing posts with label Judy Westegaard - Jenkins CDA. Show all posts

Friday, February 16, 2018

Thyme to say that Life is Better when your 're Painting


It's no secret
 that 
I LOVE to paint!

I will paint on just about ANY surface.


It's easy to do when there are so many products out there to create with.
Today I wanted to show you an apron that I painted.
Often I just use "portions" of a design to create a whole new project.

I used a design
 by 
Judy Westegaard CDA 
to complete this project

I modified the design to fit my surface .

The design is part of
 Judy's
  Art Studio Fun Collection
from her
Chalk It Up Book

I have painted a few projects from this book.
You can see those projects by clicking on the links below.

Life is Better When Your Painting 
can be found

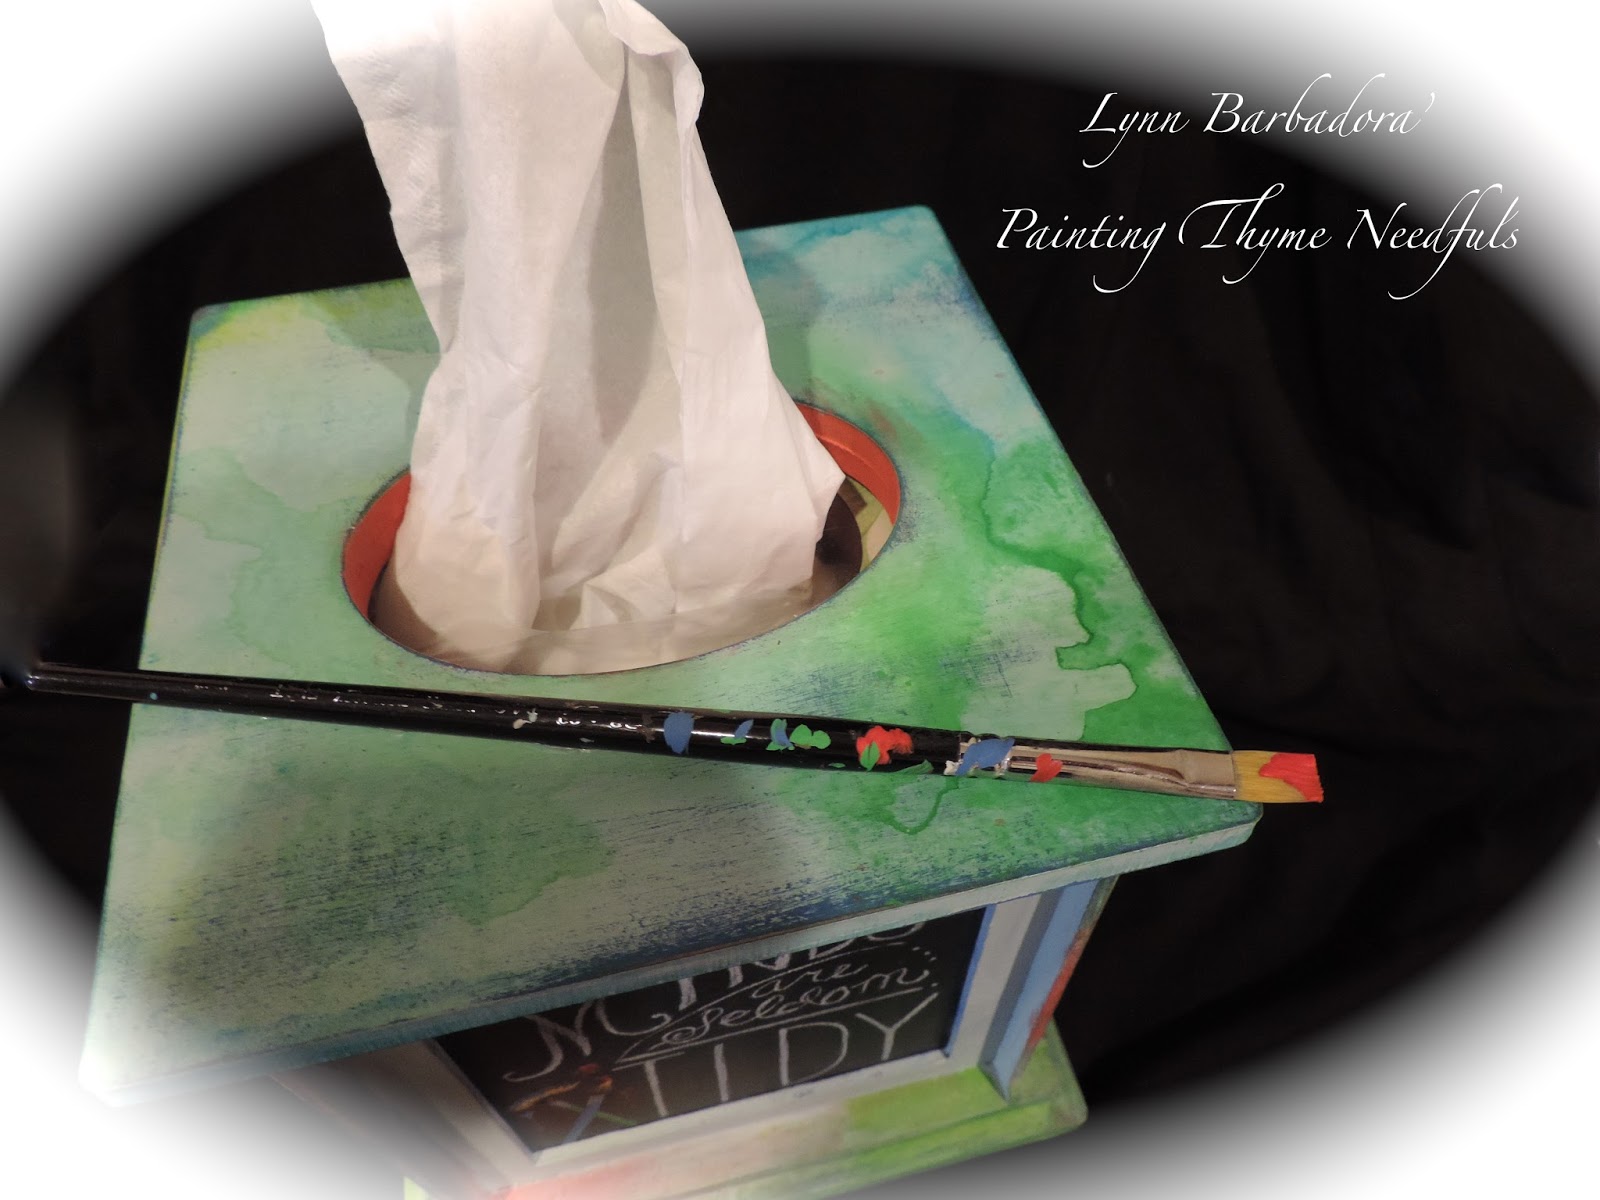
Creative Minds Are Seldom Tidy
can be found


My Palette
DecoArt Traditions Acrylic Paint

Burnt Umber, Carbon Black, Dioxazine Purple,Hansa Yellow, Medium Beige, Medium White, Napthol Red, Perinone Orange, Prussian Blue Hue, Raw Sienna, Sapphire Blue, Teal Green, Titanium White, Ultramarine Blue, Yellow Oxide


I began by first
  washing and drying 
the apron to remove the sizing.


Next I cut a piece of 
waxed freezer coated paper 
a little larger than the area that I was going to paint.

I used a warm iron , no steam 
to adhere the paper
 to the back side of the apron
under the area that I was going to be painting.


I then used white graphite paper to transfer the pattern to my apron.


I use a Sewline Tracer Roller Ball Pen to transfer designs to fabric.
* It won't tear your line drawing or graphite paper.


I used a white chalk pencil 
to darken any lines that needed darkening
 so I could see the design better.


I added a few drops of Fabric Medium to my paints.


When painting on FABRIC you need to be careful of a few things!

Paint bleeding is one of those things!


I like to use Moon Brushes for this reason
I use a very dry brush 
and 
first outline the area to be painted
 with the 
chisel edge of the
Moon Brush


I then use my Ultra Round brushes to fill in the area. 
I am very careful about the amount  of water I use. 
Less is more!
You do not want to saturate your fabric!
I like to build the intensity of color gradually.


I always keep a Tide Pen handy when working on fabric.
They are good to get rid of a tiny smudge that may happen if you catch it immediately.


I painted several of the brush handles first.


I am working on the bristles.


It can be a little more difficult to shade on fabric.
BUT
It can be achieved by dry brushing!
I used either my
Moon Brushes or Stain- It
brushes for the dry brush shading.


The first 3 brushes are complete!


I am working on the remaining brushes.


I have finished painting all the brushes.


I am working on the palette knife.


I am now working on the pencil.


Close up view.


After I had completed my painting I put a 
clean white cloth 
over the design 
and 
ironed it to set the paint.


Does it look like you can grab one of those brushes out of the pocket?


My completed apron.


Close up of design.


Rosemary Reynolds and DecoArt 
provided me with the paints to complete this project as part of their
Helping Artist
 and
DecoArt Blogger Outreach Programs


Thank you DecoArt!


I hope you have enjoyed watching me paint this project!

Because.......

Life REALLY is better when you are painting!


Happy Painting !

Lynn


Monday, March 6, 2017

Thyme to tell you that CREATIVE Minds are Seldom Tidy


Today I wanted to show you my latest project 
called 
Creative Minds Are Seldom TIDY
Design by Judy Westegaard-Jenkins CDA


Lets step inside my STUDIO and get started!


My Palette


Aquamarine, Burgundy, Burnt Sienna, Burnt Umber, Carbon Black, Dioxazine Purple, Hansa Yellow, Medium Beige, Medium Red Rose, Prussian Blue Hue, Raw Sienna, Sapphire Blue, Teal Green, Titanium White, Ultramarine Blue, Yellow Green Light,Yellow Oxide


Carbon, Vintage, Legacy


I began by sanding all the pieces lightly.
I glued the bottom two pieces together.


I sealed all my pieces 
with


Once the sealer had dried I sanded again lightly and wiped the dust with a soft cloth.


I based the knobs using Sapphire Blue and the insert Carbon
I based the remaining pieces with Legacy .
I let these pieces dry for two hours.


Next I applied a coat of Vintage to all the Legacy-painted pieces.
I allowed all pieces to dry for two hours.


I distressed all pieces except the Carbon Black insert by sanding with a fine grit sand paper.
I sanded lightly in areas to reveal the underneath color.
I assembled my tissue box and glued it together. 
I used a large rubber band as seen in the above picture until the glue had set.


The background technique is called roughing.


I rouged the background by spritzing each panel with water. I used small amounts of paint + water (1:1) to rouge the colors in transparently.


Aquamarine + Burnt Umber (3:1), Dioxazine Purple, Medium Red Rose, Sapphire Blue, Teal Green, and Yellow Green Light + Hansa Yellow + Burnt Umber (1:1:touch). I worked small areas at a time allowing the colors to run into each area. 


I mopped with my Duster Stippler Brush


I allowed my piece to dry really well before proceeding to the next step.


I used a medium size stencil brush and my palette knife to spatter my tissue box with Titanium White and Sapphire Blue. 
*** To spatter easily first dip your stencil brush in water, then lightly tap on paper towel to remove excess water, pour a nickel size portion of paint on your palette, circle your stencil brush on palette to pick up some paint. Spatter by pulling the bristles of your stencil brush towards you using your palette knife. I always do a "practice spatter" on a piece of old paper first to see how heavy or light my spatter is and adjust accordingly. ***

Let the spattered paint dry well before proceeding to the next step!


I made the paint drips by once again spritzing the sides of my box. Do this one side at a time! I used a #3 Round brush to put drips of thinned paint + water at the tops of the sides. I coaxed the drips down the sides letting them end randomly.


I used a General Chalk White Pencil to fill in the letters on the insert panel.


I clean up any smudges or smears from the calk pencil with a Point Blend Brush dipped in water.


I am now starting to paint the watercolor tray on one of the sides.


I'm adding the paint colors to the pans on the watercolor tray.


I'm adding the "spilled paint" to the tray. 
I did this by first coating the tray with Extender then I added small amounts of colors thinned with water.


The front and one side are done!


Another close up of the water color tray side.


I am now starting to paint the palette on the back side.


View of watercolor tray and palette


I am now starting to work on the paint bottle.


I am starting to add some shading and high lights to the paint bottle.


I'm adding the label and dripping paint to the bottle.


Of course .........you can see that I'm NEVER TIDY when I paint!


I'm working on the palette knife now.


Close up of the paint bottle and palette knife.


The chalk pencil is used to also strengthen some of the highlights 
in addition to the lettering on the insert.


You MUST use a spray fixative to set the chalk pencil BEFORE you varnish to avoid smearing!


Give each side a couple light coats of spray fixative.....let dry completely between coats and before you start to varnish!


Now lets varnish!


I brushed on two coats of Americana Dura Clear Matte Varnish to my finished piece.


Paint bottle and palette knife


Palette and brush


I glued a "used brush" to the cover


Watercolor tray.


My finished project!

Rosemary Reynolds and DecoArt Inc
provided me with the paints to complete this project as part of their 
Helping Artist
and 
DecoArt Blogger Programs


Thank you DecoArt for all the wonderful products to create with!


I hope you have enjoyed watching me paint my Creative Minds Tissue Box!


Happy Painting!

Lynn


Related Posts Plugin for WordPress, Blogger...